

A clogged CO2 diffuser is one whose ceramic has filled with mineral scale, algae and organic film, so it puffs out large bubbles instead of a fine mist. Clean it by closing the CO2, lifting the diffuser out, scrubbing off the visible growth, soaking the ceramic in a descaler or a dilute bleach solution, rinsing it thoroughly, and refitting it so pressure can build again. Most diffusers come back to full output.
How do you know a CO2 diffuser is clogged?
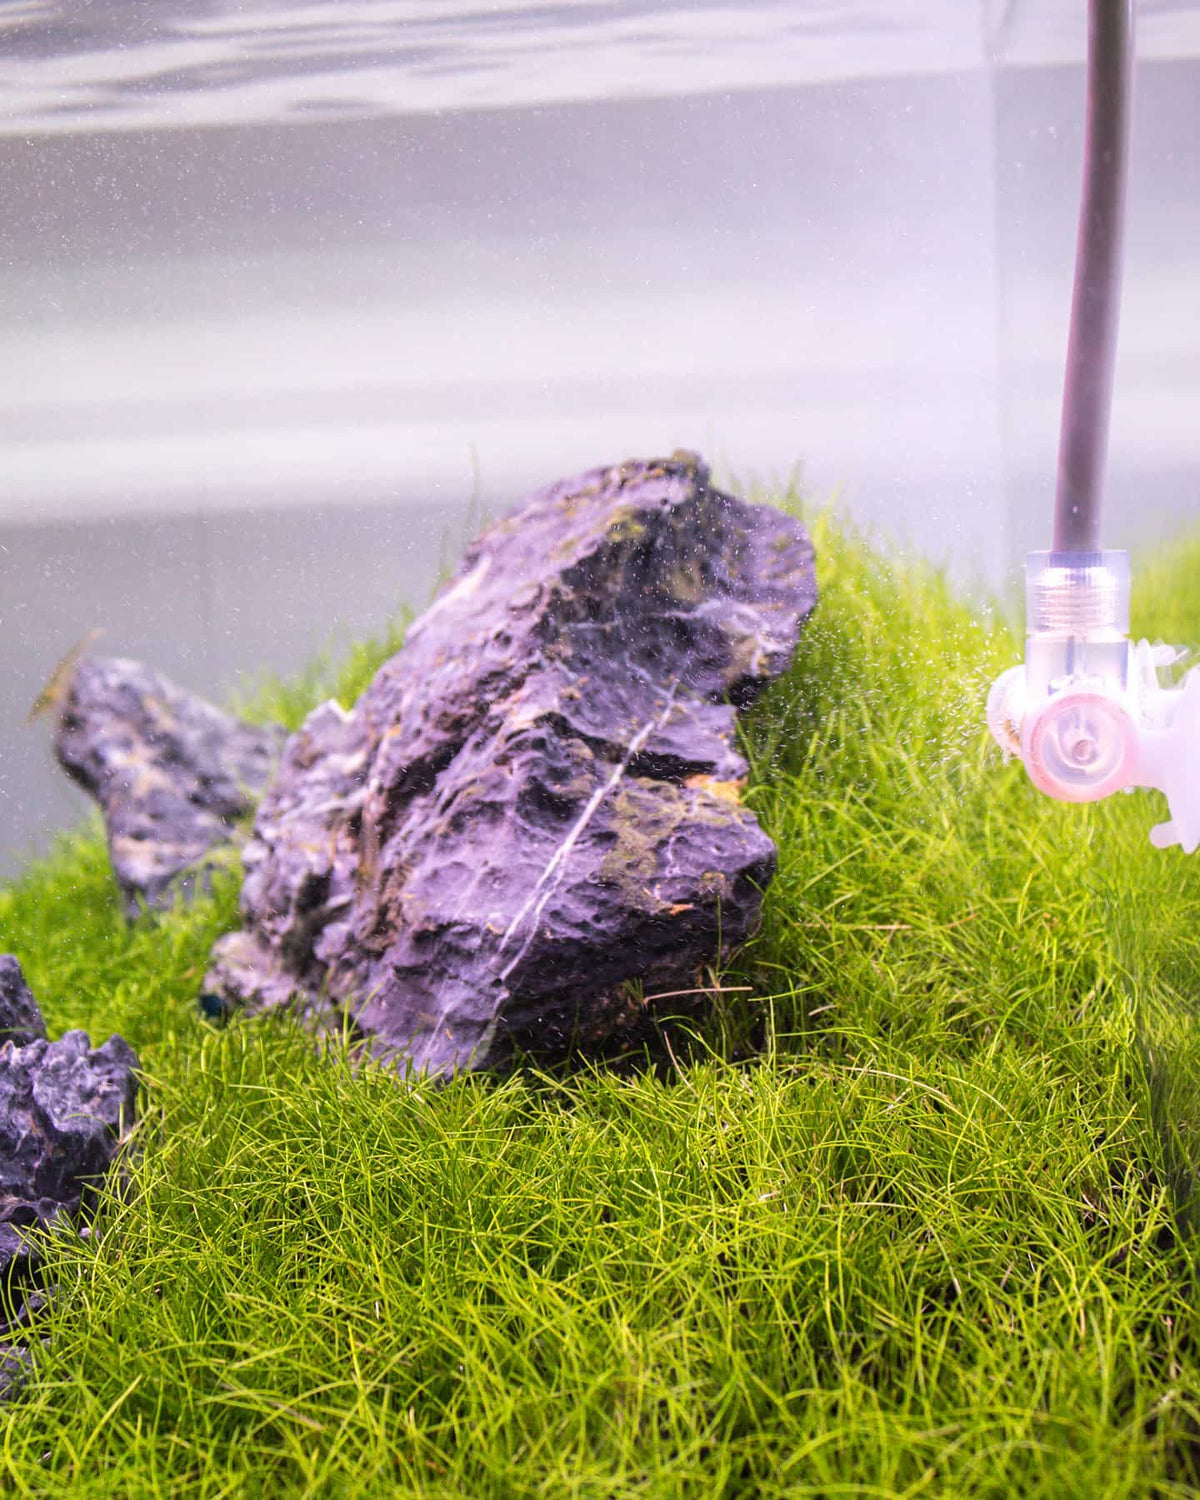
A clogged diffuser changes the way the gas leaves it, not the way the gas arrives. The mist that used to drift across the tank turns into a slow string of fat bubbles, or the face only works in one corner. On the regulator, the working gauge often creeps upward, because the ceramic is now a restriction the gas has to push through. The bubble counter may slow or stop even though nothing on the needle valve has moved.
The plants tell you next. Pearling fades, the slower growers stall, and a drop checker that sat happily in its middle colour drifts back toward blue, which is the sign that less gas is dissolving rather than that less gas is flowing. If you can watch only one thing, watch the mist: a healthy diffuser makes a cloud you can see from across the room.
- Fat bubbles or a thin, patchy mist instead of a fine cloud
- Working pressure on the regulator climbing over a few weeks
- A bubble counter that slows, stutters or stops with the needle valve untouched
- Pearling and growth falling off while everything else in the tank is unchanged
- A drop checker drifting toward blue
 Why CO2 diffusers clog in the first place
Nothing in a ceramic membrane wears out quickly; it simply fills up. Hard tap water leaves white mineral scale in the pores every time the gas stops and water sits in them. Algae and bacterial film grow on the wetted face, because it is a bright, well flushed surface in a tank full of nutrients. Fine detritus arrives on the current. Each of these is slow on its own, and together they can halve the mist in a season.
Two avoidable causes do more damage than any of that. Oil is the first: bubble counter fluids, glycerine and silicone oils creep down the line and glaze the ceramic from the inside, where no brush reaches. Our own guidance for the inline atomizer is blunt about it, because bubble counter fluids and oils contaminate the diffuser and water is all the counter needs. The second is tank water drawn back up the tubing when the solenoid closes at night, carrying with it everything it passes through.
- Mineral scale from hard water, deepest inside the pores
- Algae and biofilm on the wetted face
- Oils from bubble counter fluids, which no brush can reach
- Water pulled back into the line when the gas shuts off overnight
- Detritus and dust from the tank itself
How to clean a clogged CO2 diffuser step by step
The job is mostly waiting. Plan it for an evening when the lights are going off anyway, so the tank spends its dark hours without gas instead of losing a day of growth. Work over a sink, keep a bowl of tank water beside you for the small parts, and have your dechlorinator to hand before you start if bleach is going to be involved.
Close the CO2 and take the diffuser out
Shut the needle valve, switch off the solenoid, and let the line bleed down before you pull anything apart. An in-tank diffuser lifts off its suction cup and unplugs from the tubing. An inline unit needs the filter taps closed on both sides first; open it with the filter running and you will empty the hose onto the floor. Keep every O-ring and washer in the bowl, because those are the parts that go missing.
Scrub off what you can see
Rinse the unit under warm running water and work the wetted face with a soft toothbrush. Green film and soft deposits come away at this stage, and sometimes that is the whole repair. Never take a wire brush, a pin or a blade to a ceramic membrane. The pores are what make the mist, and a scratched or punctured face will blow one big bubble out of the damage for the rest of its life.
Soak the ceramic in the right thing
Choose the soak by what you are fighting. White, chalky deposits are scale and want an acid, so citric acid or a household limescale remover. Green or black growth and organic glazing want an oxidiser, so dilute household bleach or hydrogen peroxide. Dilution and soak time belong to the product in your hand: read its label, follow it, and give the ceramic 20 minutes soak time as a starting point. Take metal parts, seals and acrylic bodies out before an acid soak, and never mix bleach with anything acidic.
Rinse, neutralise and refit
Rinse for longer than feels necessary, because the pores hold whatever you soaked them in. After a bleach soak, rinse under running water and then stand the ceramic in dechlorinated water, or in water dosed with a dechlorinator, until there is no smell of chlorine at all. Refit the O-rings, reconnect the tubing, reopen the filter taps on an inline unit, and only then turn the gas back on. Be patient with it: a dry ceramic takes a while to wet through, and the mist usually arrives some minutes after the first bubbles.
| Soak | What it clears | Soak time | Watch out for |
|---|---|---|---|
| Warm water and a soft brush | Fresh film and loose detritus | Not needed | Will not touch mineral scale or oil |
| Dilute household bleach | Algae, biofilm and organic glazing |
several hours |
Rinse hard, then neutralise with a dechlorinator before it goes back |
| Citric acid or limescale remover | White mineral scale inside the pores | about 15 minutes | Take metal parts and seals out first, and never mix it with bleach |

Inline atomizer or in-tank diffuser: what changes
An in-tank unit is the easy case. The Bazooka Flux and the acrylic and stainless steel IO diffusers in our range come off the glass in seconds, and the whole unit can go into the soak once the tubing is off. The glass body is the fragile part, not the ceramic, so no boiling water and no hot tap on cold glass.
An inline atomizer sits in the outlet hose of an external filter, so the plumbing comes first: close the taps, deal with the water still in the hose, then unscrew the body. The payoff is that its ceramic membrane is replaceable, so a face that will not come clean does not mean a new atomizer. Dry the metal body before it goes back together and check the O-ring seats, because an atomizer that hisses after a clean is usually a seal you pinched rather than a membrane you killed.
- In-tank: lift it off, soak the whole unit, respect the glass
- Inline: close the filter taps before anything else
- Keep O-rings and washers in a bowl of water, not loose on the worktop
- Only the ceramic needs the chemical soak; the body needs a rinse
What to do when the mist does not come back
If the mist is still wrong after a clean, the diffuser is probably not the fault. A ceramic membrane needs real working pressure behind it to atomise at all, and that is set on the regulator, not with the needle valve: our atomizers asks for at least 40-50PSI. A regulator whose output drifts down as the cylinder empties will starve a perfectly clean diffuser.
Work outward from there. Look for kinks, and for silicone hose that softens and collapses under pressure, which is why we ask for CO2-rated tubing and nothing softer. Listen along the line for leaks with the solenoid open. If the working pressure will not hold steady at all, a dual-stage regulator is the part of the system whose job is exactly that. Only once all of this is ruled out is a worn or cracked membrane the likely answer.
- Set working pressure on the regulator, never with the needle valve
- Rule out kinked or collapsing tubing before you blame the ceramic
- A hiss after reassembly is a seal, not a clog
- A membrane that clears and then clogs again within days usually means oil in the line
How to stop a CO2 diffuser clogging again
Three habits do most of the work. Put water in the bubble counter and nothing else, because the fluids sold for it are the oils that glaze a ceramic from the inside. Fit a check valve close to the tank so the nightly shutdown cannot pull water back up the line; it is there to keep water out of the solenoid, and it protects the diffuser on the way. Then clean on a schedule instead of waiting for the mist to fail.
The schedule itself depends on your water. Soft water and a modest light may go a whole season between soaks, while hard water in a bright, heavily fed tank fills a face steadily. Tie the job to something you already do, and filter maintenance is the obvious candidate. The trick that makes it painless is a spare diffuser: fit the clean one, soak the dirty one, and the tank never spends an evening without gas.
- Water only in the bubble counter
- A check valve close to the tank
- CO2-rated tubing, never silicone
- A spare diffuser, so a soak costs the tank nothing
- Mount it in the flow, not in a dead corner where detritus settles
Frequently asked questions
Why is my CO2 diffuser not making bubbles?
Either nothing is reaching it or the ceramic is blocked. Check the needle valve and the solenoid first, then the working pressure on the regulator. If gas is clearly flowing and the bubble counter is moving, the membrane is clogged and needs a soak rather than a higher bubble rate.
Can you clean a CO2 diffuser with bleach?
Yes, dilute household bleach is the usual choice for algae and organic film on a ceramic face. Follow the dilution on the bottle, then rinse under running water and stand the part in dechlorinated water until no chlorine smell remains. Never mix bleach with an acidic descaler.
How often should you clean a CO2 diffuser?
There is no fixed interval, because it depends on water hardness, light and feeding. Clean it when the mist thins or the working pressure creeps up, and in the meantime attach the job to your filter maintenance so that it never gets forgotten.
Does a clogged diffuser raise the pressure in my CO2 system?
Usually yes. A blocked ceramic is a restriction, so the working gauge tends to climb while fewer bubbles actually get through. A slow rise in working pressure with nothing changed at the needle valve is one of the earliest signs that a clean is due.
Can a clogged ceramic membrane be replaced instead of cleaned?
On our inline atomizer and IO diffuser the ceramic membrane is replaceable, so a face that will not come clean does not mean a new unit. The Bazooka Flux is replaced whole, and most clogged ones recover with a proper soak.
If a soak no longer brings the mist back, our diffuser range covers both in-tank and inline options, and a spare on the shelf means cleaning day never costs the tank its CO2.
分享:
水草指南:如何挑选、如何种植,以及如何让它们一直长下去